pixalynx/cm5-minimal-carrier
A 4-layer Raspberry Pi CM5 carrier board routes USB‑C 5V power through an RT9742 load switch with TVS protection and capacitive filtering, while providing ESD-protected HDMI output, CM5 connectors, test points, and ground/power planes.
- Version
- 0.1.1
- License
- unset
- Stars
- 0
docs/power.md
# USB-C and power architecture

## Expected source

Use a USB-C PD source that explicitly supplies **5 V nominal at 5 A** and a 5 A electronically marked cable. The official Raspberry Pi 27 W supply is the intended starting source (its nominal output is 5.1 V). Normal 5 V / 3 A sources can be evaluated for reduced-demand use, but this revision is not qualified across all such sources or workloads. It cannot obtain 5 A from passive Rd alone, nor from an ordinary 3 A cable.

CM5's internal PD controller is exposed on pins 94 / CC1 and 96 / CC2. The official CM5IO connects those to the Type-C socket. This carrier follows that reference: J3 A5→J1.94 and J3 B5→J1.96. Sink termination is already present on the module. No external Rd resistors, PD controller, PD firmware or NVM programming are needed on the carrier. Removing the module removes the sink function.

J3 uses shared physical lands for A1/B12, A4/B9, A9/B4, and A12/B1. The footprint and audit consolidate these shared lands while accounting for all four VBUS contacts and all four GND contacts. Shell tabs are grounded. A6/A7/B6/B7 and A8/B8 are NC. PD uses CC and does not require USB data.

## Power path

VBUS feeds the `CM5_5V` plane directly. D1 is a unidirectional TVS with cathode at VBUS and anode at GND; it provides transient suppression. **It is not a precise 5.25 V clamp, reverse-polarity switch, eFuse or sustained overvoltage disconnect.** Only standards-compliant 5 V supplies are within scope. The source supplies input overcurrent protection, as in the minimal official arrangement. Do not use a separate PD trigger that can deliver higher voltages.

No external regulator is needed: the module has its own PMIC. All six main input pins 77/79/81/83/85/87 are supplied. Each has two ordinary through-vias and a short copper escape into L3. VBUS entry uses three vias per shared power land. The large continuous L3 plane carries current across the board; thin signal traces do not carry the main load.

C1 is 10 µF at USB-C. C2 is a 47 µF ceramic bulk capacitor on the underside near the module's input, with C3 100 nF local bypass. DC bias reduces MLCC effective capacitance, so nominal 47 µF is not a guaranteed hold-up value. C4 bypasses the HDMI switch input. C5 decouples its output. C6 bypasses the mandatory 3.3 V GPIO reference. The unused 1.8 V output is not tied to any external source.

The carrier contributes about 58 µF directly on VBUS before including the module and voltage-dependent capacitance. This follows the reference's direct-feed approach but **does not prove Type-C attach/inrush compliance**. Capture attach current, rise time and repeated cold starts with the selected PSU and CM5. If the source trips or an applicable inrush limit is exceeded, revise the design with a qualified slew-controlled load switch/eFuse and repeat PD/startup tests. Do not simply add more bulk capacitance.

## HDMI supply

RT9742SNGV pin 1 is VIN, pin 2 VOUT and pin 3 GND. It is the 0.5 A SOT-23 variant selected in CM5IO, with built-in current limiting, thermal protection and reverse blocking. It powers `HDMI_5V` on HDMI pin 18. This is the display-detection/EDID supply; it does not power a monitor. Normal display current should be far below its limit. Verify short-circuit recovery and the switch's reverse-blocking behaviour in the prototype.

## Current and thermal qualification

Raspberry Pi's current CM5 datasheet gives typical idle/operating currents, not a workload-independent maximum. Use the 5 A source for headroom and negotiate it properly; do not assume the board consumes 5 A continuously.

Amphenol publishes **0.3 A per contact with all contacts powered** for this connector family. Only six contacts carry the main 5 V input here, and the official CM5IO uses this same interface. The all-contacts figure does not by itself establish an allowable higher current for six populated power contacts. Obtain application-specific derating guidance and qualify temperature rise/contact drop under the intended sustained and peak module load. No “six contacts × arbitrary high current” assumption is made in this project.

At the module, verify a monotonic startup reaching at least **4.75 V**, and **4.75–5.25 V** during normal operation. Include cable, USB socket, via, plane, mezzanine and source drops. Measure at the module contacts, not just at the Type-C connector. Test repeated hot-plug, CPU/video load changes, shutdown and power cycling with the intended thermal solution.

## Revision B probe access

Six bare pads on the bottom expose input VBUS (TP1), nearby GND (TP2), module-side 5 V (TP3), nearby GND (TP4), CM5 3.3 V output (TP5), and HDMI 5 V (TP6). These are voltage probe points, not power injection connections. Compare TP1–TP3 voltage under load and check HDMI back-power/rail decay at TP6 after removing USB-C. No branches were added to CC or HDMI signals. See [the probe map and restart test cases](https://tscircuit.com/pixalynx/cm5-minimal-carrier/blob/docs/jlcpcb-order-notes.md).
Related Packages
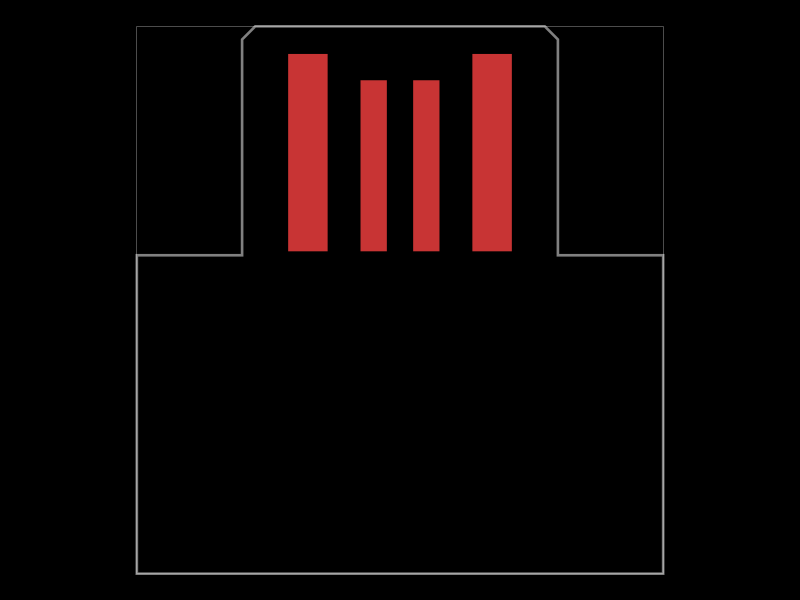 More from this authorpixalynx/edge-connectorConfigures USB-A, Micro-USB, and USB-C PCB-edge connectors with exposed copper contacts and automatically shaped, positioned board tongues.
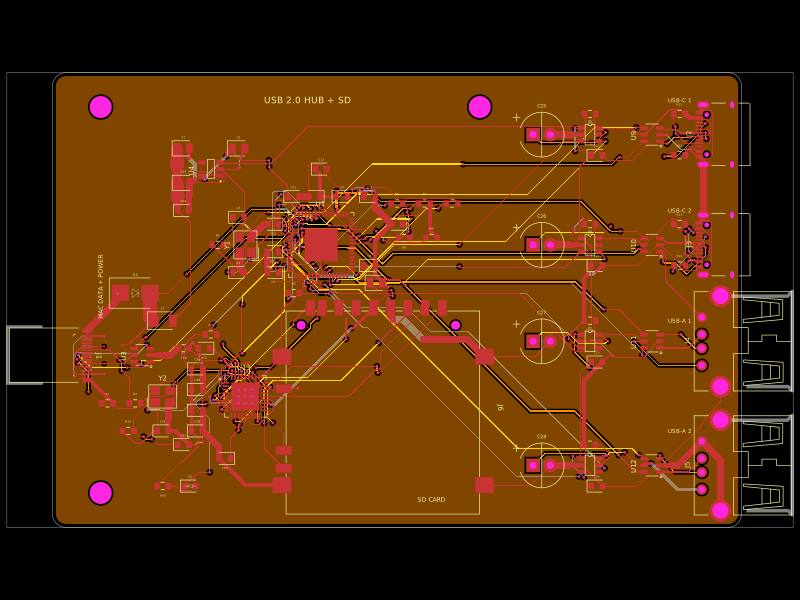 Similar packagegokul/usb-hub-boardA 4-layer 100×66 mm USB 2.0 hub board with a USB‑C upstream port, four protected downstream USB‑C/USB‑A ports, an integrated SD card reader, USB hub controllers, 3.3 V regulation, ESD protection, current-limited power switches, crystal oscillators, and filtering/passive components.
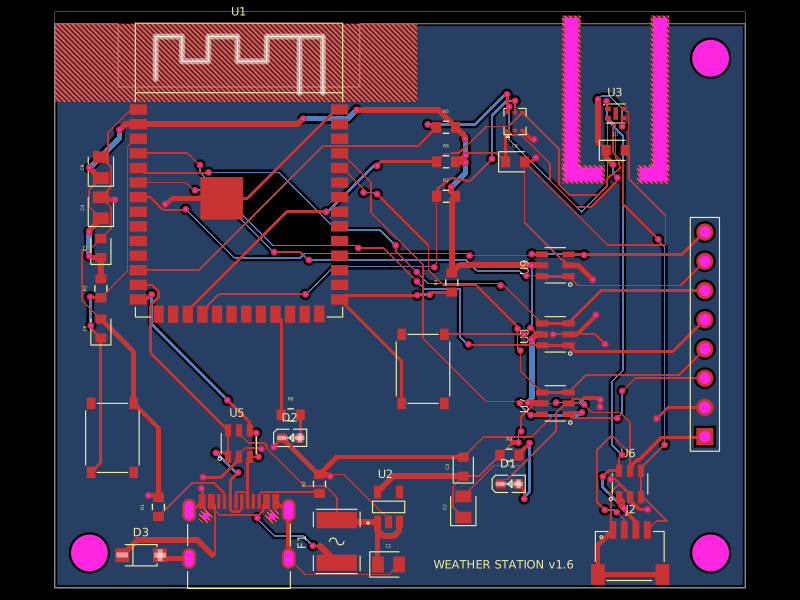 Discover something newolivergrabinski/weather-stationA compact ESP32-S3 Wi‑Fi/Bluetooth module is powered by an AP2112K 3.3 V regulator, with a JST SH connector and blue status LED.