techmannih/nema34-mounted-stepper-controller
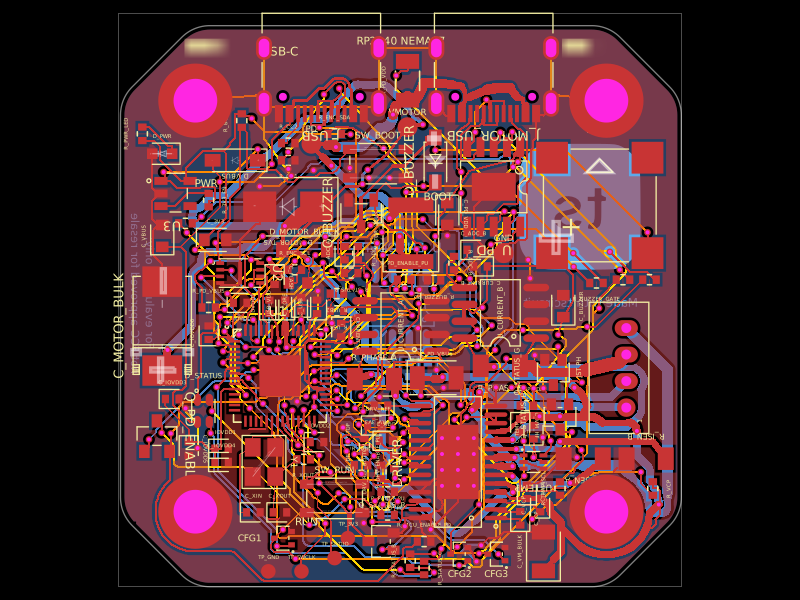
A 48 V USB‑C PD 3.1 EPR NEMA‑34 stepper controller PCB combining STM32/TMC5160 control, external MOSFET motor bridges, protected power and regenerative braking, USB data, telemetry, diagnostics, status LEDs, and buzzer alarms.
- Version
- 0.3.92
- License
- unset
- Stars
- 1
docs/bring-up.md
# PD1180-EPR — NEMA 34 Smart Motor-Mounted Stepper Controller with USB-C PD 3.1 EPR

## Bring-up plan

Use the [power validation matrix](power-validation.md) for the approved power ECO, numeric limits, required evidence and pending test results. No powered tests have been performed.

Complete routing, design review and assembly inspection before these steps. Use current-limited equipment and a PD protocol analyzer; do not begin with an unrestricted 48 V source and motor attached.

1. Inspect supply-to-ground resistance, polarity, QFN solder joints, filled vias, connector pin numbering and shunt Kelvin paths. Leave hardware enable open.
2. Connect J1 PD POWER at default 5 V, then connect J10 USB DATA. Verify 3.3 V, PD LDO rails, crystal startup, SWD and USB enumeration. VMOTOR must remain off with an erased MCU and blank/invalid PD EEPROM.
3. Program the TI-generated sink-only image. Confirm 5 V bootstrap, EPR cable identification, 48 V/5 A contract, GPIO2 EPR signaling, TPD fault handling and rejection of source/VCONN role swaps. Probe VBUS_LV through the SPR→EPR transition; it must stay within the PD controller's recommended range.
4. With an electronic load in place of the motor, verify eFuse UVLO, OVP, current-limit tolerance, inrush slew, fault latch/reset and reverse blocking. Test detach, hard reset and 3.3 V collapse while EPR VBUS is present. Check that bulk-capacitor energy cannot feed the USB port.
5. Connect the qualified external brake resistor. Use a controlled source to raise VMOTOR and measure brake turn-on, turn-off, switching overshoot, thermal rise and independent voltage shutdown. Size pulse energy and average power for rotor plus driven load; disconnect/hard-reset cases are required.
6. With no motion commanded, verify DRV_EN_N for every combination of MCU_RUN, motor power-good, voltage-good and external enable. Open enable, grounded enable, MCU reset and watchdog timeout must all disable the bridge.
7. Begin at low phase current with the actual motor. Verify high/low-side VGS, dead time, absence of shoot-through and correct shunt polarity. Increase current only after current regulation and temperatures are measured. Start at approximately 0.827 A RMS and 10 rpm unloaded; the 3.8 A RMS ceiling is not a qualified motor setting. Before RUN, verify BRAKE_OK requires three fresh connected-return samples and clears after power loss. Open-cable, Q16 switching and thermal tests must pass before brakeHardwareVerified can be enabled.
8. Verify encoder magnetic field, alignment, counts, SPI framing and direction. Confirm stop/home polarities, input thresholds and Step/Dir frequency limits. Exercise both ramp and external Step/Dir modes.
9. Test RS232, CAN and RS485 with correct external termination/bias. Confirm USB operation while the motor switches, then perform applicable ESD/EMC and cable-fault tests.

Record waveforms, measured component temperatures, firmware/configuration hashes and pass/fail limits. Update `release-status.json` only after the associated evidence exists.

### Logic backup and USB loss

With the motor disconnected, supply VMOTOR from a current-limited bench supply and disconnect both USB cables. Confirm U22 maintains V3V3, U13/U14 and the brake reference operate, PD_VBUS and USB_DATA_VBUS stay unpowered, and the bridge enable returns inactive. Sweep both buck inputs and load V3V3 through the expected range; scope handover droop and reverse current through U23/U24. Exercise the brake at progressively higher bus voltage with a rated load and verify current, hysteresis, switch stress and worst-case comparator/reference tolerances before attempting regenerative motor tests.
Related Packages
 More from this authortechmannih/schematic-testA PCB with a 6-pin SPI display connector linked to SPI signals, ground, and 3.3V power.
 Similar packageimrishabh18/rp2040-motor-controllerAn RP2040-based NEMA17 stepper-motor controller with USB-C programming and PD motor-power negotiation, DRV8825 dual H-bridge drive, current/temperature telemetry, protected power filtering, status RGB LED, buzzer alarm, and optional magnetic encoder.
 Discover something newShiboSoftwareDev/muse-m5stack-stickc-plus2-replacementA 4-layer ESP32-S3 carrier board with USB-C 5V input, AMS1117 3.3V regulation, buttons, status LED, decoupling passives, and a 24-pin FFC interface for display, touch, audio, or sensor peripherals.