pixalynx/usbc-led-switch
A single-sided USB-C–powered LED light board with a latching pushbutton, 100 Ω current-limiting resistor, white 5730 SMD LED, and dual 5.1 kΩ USB-C CC pull-down resistors.
- Version
- 0.0.1
- License
- unset
- Stars
- 0
README.md
# USB-C LED light (single-sided, home-milled)

Plug in a USB-C cable, press the button: one white 5730 LED comes on; press again: off.

```
USB-C VBUS ──► SW1 (push-on / push-off) ──► R3 100 Ω ──► LED1 (white 5730) ──► GND
USB-C CC1 ──► R1 5.1 kΩ ──► GND        USB-C CC2 ──► R2 5.1 kΩ ──► GND
```

- Board: 30 × 36 mm, 1.5 mm FR4, **single-sided**, every part on the copper side, no vias.
- GND is a copper pour, so there is very little to mill.
- LED current is (5.0 − 3.1 V) / 100 Ω ≈ **19 mA**: bright, and the LED and resistor stay cool.
  - 68 Ω gives about 28 mA.
  - 47 Ω gives about 38 mA (R3 then dissipates about 70 mW, still fine for a 1206).
- `index.circuit.tsx` holds the circuit, placement and hand-routed traces. `lib/footprints.tsx` holds the milling-friendly land patterns.

## Are the chosen parts compatible?

**LED** ([Coliao 5730 white, 200 pcs](https://www.amazon.com.au/dp/B09Y1LKL3T)): yes.
- It is a 3 V-class white LED (Vf ≈ 3.0–3.2 V), so it needs a series resistor on 5 V. R3 is that resistor.
- The "150 mA / 0.5 W" in the title is the maximum. 20 mA is plenty.
- The land pattern follows the Yuji / Sunrom 5730 datasheets: two electrodes plus a centre heat pad.
- The heat pad is left unconnected so it is safe whichever way an unbranded LED wires it inside.

**USB-C socket** ([OTOTEC 16-pin SMD, 20 pcs](https://www.amazon.com.au/dp/B0FP4KRD4C)): yes, with three caveats.
1. **It needs the two 5.1 kΩ CC resistors (R1, R2).** Without them a USB-C charger or C-to-C cable never switches 5 V on. Only a USB-A-to-C cable would work.
2. **It is a fine-pitch phone-repair part.** The stock land pattern has 0.20 mm gaps, which is below Makera's ">0.2 mm" spacing rule.
   - This board uses a power-only pattern instead: lands for GND, VBUS, CC1, CC2, VBUS and GND only. The smallest gap is 0.30 mm.
   - The six data/SBU legs sit on bare board with no copper under them. They are not needed for power.
3. **The shell legs need holes.** A home-milled board can't have plated slots, so they are round drilled holes: 1.3 mm rear, 1.1 mm front. You solder each leg to a copper ring on the top.
   - **Measure one of your sockets with calipers before milling.** The listing mixes "16 pin" with a 24-pin JAE part number (DX07B024). The photos show the common 16-pin layout this footprint follows: 12 legs in one row, 0.5 mm pitch in the middle, 2 locating pegs and 4 shell legs.

**Button:** a push-on/push-off (latching) switch.
- Through-hole latching switches are awkward on a single-sided milled board, because their pins would have to be soldered under the switch body.
- So this design uses one with **flat solder tabs** that lies on the copper like an SMD part.

## Shopping list

Prices and stock as seen 1 Oct 2026.

| Ref | Part | Where | Price (AUD) |
|---|---|---|---|
| J1 | USB-C 16P SMD receptacle (you have it) | [Amazon AU](https://www.amazon.com.au/dp/B0FP4KRD4C) | 12.39 / 20 |
| LED1 | 5730 white SMD LED (you have it) | [Amazon AU](https://www.amazon.com.au/dp/B09Y1LKL3T) | 21.99 / 200 |
| R1, R2, R3 | **1206 resistor kit with 100 Ω and 5.1 kΩ**: VGOL 660 pcs (value table lists 100R and 5K1) | [Amazon AU](https://www.amazon.com.au/dp/B0CX4ZMMDN) | 17.49 |
| SW1 | **Adafruit 3870 "Mini On/Off Push-Button Switch"** (Legong LG-15F, latching SPST, flat tabs) | [Core Electronics](https://core-electronics.com.au/mini-on-off-push-button-switch.html) | 1.85 (buy 2–3) |

Alternatives if the kit is gone:
- Amazon 1206 60-value kit, which includes 100 Ω and 5.1 kΩ: [B0BB113PJC](https://www.amazon.com.au/dp/B0BB113PJC)
- element14 single values:
  - 5.1 kΩ: [Multicomp WR12X5101FTL](https://au.element14.com/multicomp-pro/wr12x5101ftl/res-5k1-1-0-25w-1206-thick-film/dp/2671189)
  - 100 Ω: [MCWR12X1000FTL](https://au.element14.com/multicomp-pro/mcwr12x1000ftl/res-100r-1-0-25w-thick-film/dp/2447454)

Avoid kits that only list 4.7k/5.6k. CC1 and CC2 need **5.1 kΩ**.

For the mill:
- 1.5 mm single-sided FR4 blank (Makera sells these).
- A 0.1 mm/60° or 0.2 mm/30° V-bit for isolation.
- 0.6–1.0 mm corn bits for clearing and the outline.
- Drill bits: 0.8, 1.0, 1.1 and 1.3 mm. Alternatively, cut the holes as contours with a 0.6 mm corn bit.

Optional upgrade if the 16-pin socket is too fiddly:
- **GCT USB4125-GF-A** at [element14](https://au.element14.com/gct-global-connector-technology/usb4125-gf-a/usb-conn-2-0-type-c-r-a-rcpt-6pos/dp/3648642): a 6-pin power-only USB-C socket with coarser pads, about A$0.99. It needs a new footprint.
- **Adafruit 4090 USB-C breakout** at [Core](https://core-electronics.com.au/adafruit-usb-c-breakout-board-downstream-connection.html): has 5.1 k CC resistors built in, A$5.40.

## Milling on the Makera Z1

Files are in `fab/gerbers-makera/`. Regenerate them after any change with `bun run fab`.

| File | What |
|---|---|
| `F_Cu.gbr` | Copper, top side. **Pour is pre-fractured to dark polarity only**: no `%LPC%` clear layers, which some CAM programs ignore. |
| `Edge_Cuts.gbr` | 30 × 36 mm outline, 2 mm corner radius |
| `holes_pth.drl` | 2 × 1.3 mm and 2 × 1.1 mm (USB-C shell legs), 2 × 1.0 mm (optional switch-tab anchors) |
| `holes_npth.drl` | 2 × 0.8 mm (USB-C locating pegs) |

All coordinates are in mm, with the origin at the board centre. Copper is on the top, so **do not mirror**.

Workflow, from Makera's MakeraCAM PCB guide (https://wiki.makera.com/en/software/MakeraCAM_userguide#working-with-pcbs):
1. **Import PCB** → select the unzipped files and assign copper / outline / drill.
2. **Traces:** use a 2D Pocket that clears everything that isn't copper inside the outline. Largest corn bit first, then the V-bit for the gaps. Depth about 0.05 mm with the V-bit.
3. **Holes:** drill them, or contour them with a corn bit. Cut 0.3 mm past the board thickness.
4. **Outline:** corn bit, 0.3 mm past the board thickness, with tabs or double-sided tape.
5. **Probe and level the stock first** (the Z1's wired probe; a 3 × 3 grid works). The 0.30 mm gaps at the USB-C lands need it.

Not verified:
- I could not confirm that the Z1's own **Makera Studio** (beta) imports Gerbers, or that Z1 owners get a free MakeraCAM licence.
- If neither works, **FlatCAM** (recommended in Makera's FAQ) reads these files.

Design rules in this board, enforced by tscircuit's DRC:
- Minimum trace 0.4 mm (0.8 mm on the LED side).
- Minimum copper gap 0.30 mm (at the USB-C lands only).
- 0.5 mm pour clearance everywhere else.
- No copper within 0.8 mm of the edge.

## Assembly order

There is no solder mask, so use flux and a fine tip, and check for bridges with a meter after each part.

1. **Check the LED polarity** with a meter's diode test. On top, the chamfered corner marks the cathode. On the board the cathode is the end with the silkscreen bar; it joins the big GND pour. The `+` end goes to R3.
2. **J1 (USB-C) first.**
   - Push the pegs into the 0.8 mm holes.
   - Tack one shell leg, then solder the six lands: GND, VBUS, CC1, CC2, VBUS, GND.
   - Then solder all four shell legs to their rings; they take the plug forces.
   - Check CC1, CC2 and VBUS for shorts to GND and to each other.
3. R1, R2 (5.1 k), then R3 (100 Ω).
4. SW1: lay the tabs flat on the big pads and solder generously. Optionally thread a resistor-lead offcut through each tab hole and the 1.0 mm hole, bend it under and solder it on top for extra grip.
5. LED1.
6. **Test** with a USB-C charger and a C-to-C cable. Press: on. Press again: off. If a C-to-C cable gives nothing but an A-to-C cable works, recheck R1 and R2.

## Regenerating

```bash
bun install
bun run build      # tsci build index.circuit.tsx
bun run fab        # writes fab/gerbers-makera/*, fab/pcb-preview.png, fab/schematic.svg
bun run dev        # live view on http://localhost:3913
```

3D bodies (`models/*.obj`, `lib/cad-models.ts`) come from `python3 scripts/gen-cad-models.py`, run after a build:
- **J1** uses JLC/EasyEDA's own model of C2765186, the same 16-pin socket.
- **Resistors, LED and switch** are built from their datasheet dimensions.

`bun scripts/check-3d.ts` checks every body against its pads. Stop `tsci dev` while regenerating models, then start it again.
Related Packages
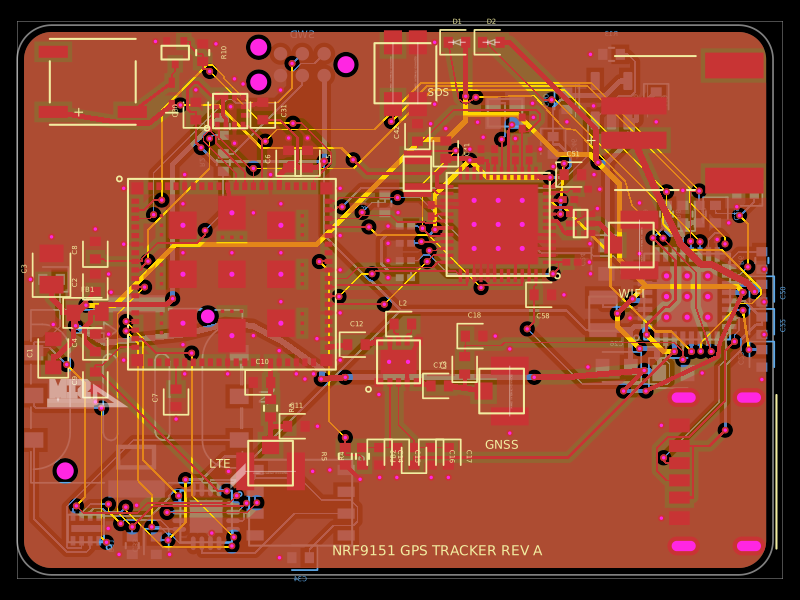 More from this authorpixalynx/nrf9151-gps-trackerA compact 44×32 mm, 4-layer nRF9151 LTE-M/NB-IoT/GNSS tracker PCB with nPM1300 LiPo/USB-C power, nano-SIM/eSIM switching, nRF7002 Wi‑Fi scanning, accelerometer, antennas, buzzer, LEDs, SOS button, and SWD/debug connectors.
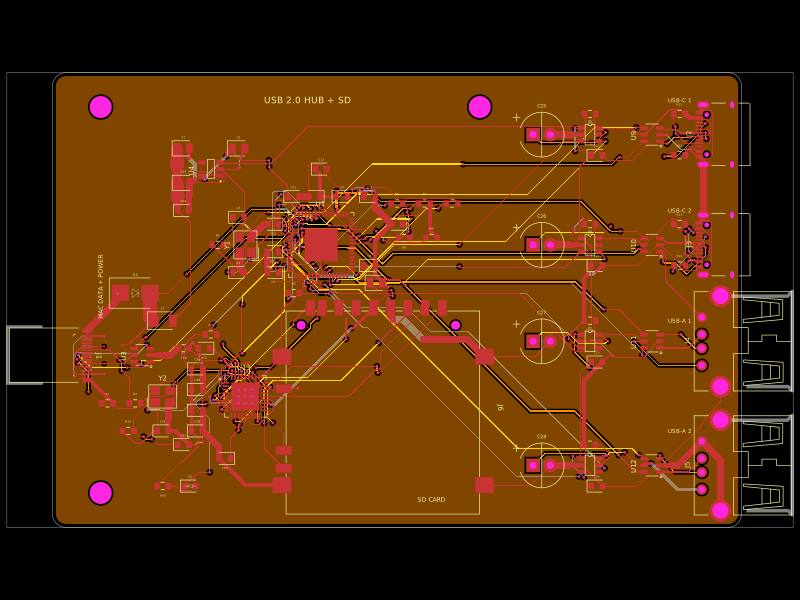 Similar packagegokul/usb-hub-boardA 4-layer 100×66 mm USB 2.0 hub board with a USB‑C upstream port, four protected downstream USB‑C/USB‑A ports, an integrated SD card reader, USB hub controllers, 3.3 V regulation, ESD protection, current-limited power switches, crystal oscillators, and filtering/passive components.
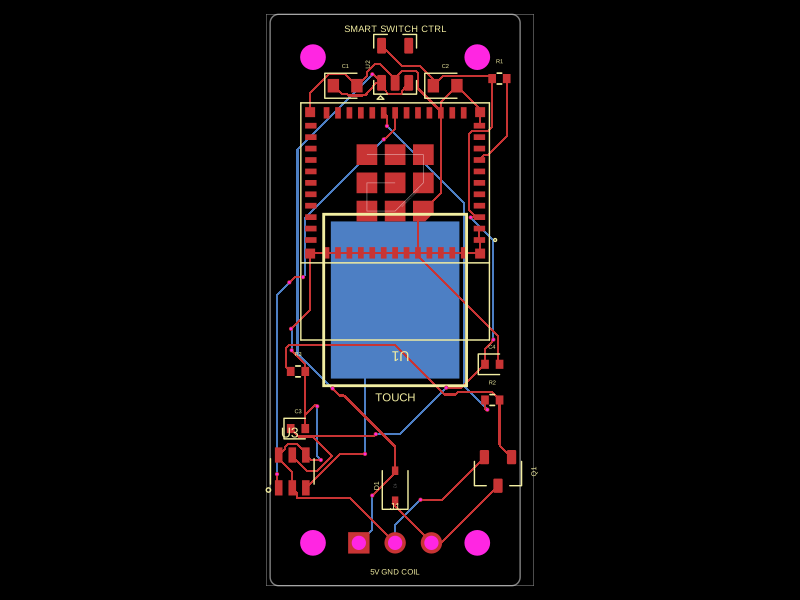 Discover something newhrithik18k/smart-switch-pcbThe AO3400A component models a SOT-23 N-channel MOSFET with labeled pins for Gate, Source, and Drain, including 3D CAD models and schematic symbols for electronic circuit design.