abse/smart-ring-flex
A tscircuit package created by abse.
- Version
- 0.0.24
- License
- unset
- Stars
- 0
firmware/onboard-programmer/upstream/picodap.c
// ===================================================================================
// Project:   picoDAP CMSIS-DAP compliant SWD Programmer based on CH551, CH552, CH554
// Version:   v1.4
// Year:      2022
// Author:    Stefan Wagner
// Github:    https://github.com/wagiminator
// EasyEDA:   https://easyeda.com/wagiminator
// License:   http://creativecommons.org/licenses/by-sa/3.0/
// ===================================================================================
//
// Description:
// ------------
// The CH55x-based picoDAP is a CMSIS-DAP compliant debugging probe with SWD protocol
// support. It can be used to program Microchip SAM and other ARM-based
// microcontrollers. The Firmware is based on Ralph Doncaster's DAPLink-implementation
// for CH55x microcontrollers and Deqing Sun's CH55xduino port.
//
// References:
// -----------
// - Blinkinlabs: https://github.com/Blinkinlabs/ch554_sdcc
// - Deqing Sun: https://github.com/DeqingSun/ch55xduino
// - Ralph Doncaster: https://github.com/nerdralph/ch554_sdcc
// - WCH Nanjing Qinheng Microelectronics: http://wch.cn
// - ARMmbed DAPLink: https://github.com/ARMmbed/DAPLink
//
// Compilation Instructions:
// -------------------------
// - Chip:  CH551, CH552 or CH554
// - Clock: 16 MHz internal
// - Adjust the firmware parameters in src/config.h if necessary.
// - Make sure SDCC toolchain and Python3 with PyUSB is installed.
// - Press BOOT button on the board and keep it pressed while connecting it via USB
//   with your PC.
// - Run 'make flash' immediatly afterwards.
// - To compile the firmware using the Arduino IDE, follow the instructions in the
//   .ino file.
//
// Operating Instructions:
// -----------------------
// Connect the picoDAP to the target board via the 10-pin connector or the pin header
// (RST / DIO / CLK / GND). Make sure the target board is powered. You can supply
// power via the 3V3 pin (max 150 mA) or the 5V pin (max 400 mA). Plug the picoDAP
// into a USB port on your PC. Since it is recognized as a Human Interface Device
// (HID), no driver installation is required. The picoDAP should work with any
// debugging software that supports CMSIS-DAP (e.g. OpenOCD). Of course, it also
// works with the SAMD DevBoards in the Arduino IDE
// (Tools -> Programmer -> Generic CMSIS-DAP).


// ===================================================================================
// Libraries, Definitions and Macros
// ===================================================================================

// Libraries
#include "src/system.h"                                 // system functions
#include "src/delay.h"                                  // delay functions
#include "src/dap.h"                                    // CMSIS-DAP functions

// Prototypes for used interrupts
void USB_interrupt(void);
void USB_ISR(void) __interrupt(INT_NO_USB) {
  USB_interrupt();
}

// Number of received bytes in endpoint
extern volatile __xdata uint8_t HID_readByteCount;      // data bytes received
extern volatile __bit HID_writeBusyFlag;                // transmitting in progress

// ===================================================================================
// Main Function
// ===================================================================================
void main(void) {
  // Setup
  CLK_config();                                         // configure system clock
  DLY_ms(10);                                           // wait for clock to settle
  DAP_init();                                           // init CMSIS-DAP

  // Loop
  while(1) {
    if(HID_readByteCount && !HID_writeBusyFlag) {       // DAP packet transmitted & received?
      DAP_Thread();                                     // handle DAP packet
      HID_readByteCount = 0;                            // clear byte counter
      HID_writeBusyFlag = 1;                            // set write busy flag
      UEP1_T_LEN = 64;                                  // send 64 bytes
      UEP1_CTRL &= ~(MASK_UEP_R_RES | MASK_UEP_T_RES);  // send & receive packet
    }
  }
}
Related Packages
 More from this authorabse/museair-usb-assemblyA mechanically secured SEN62 sensor carrier integrates a JLC PCB, bound GH6 harness, USB power cable, fasteners, retention hardware, and protective outer enclosure.
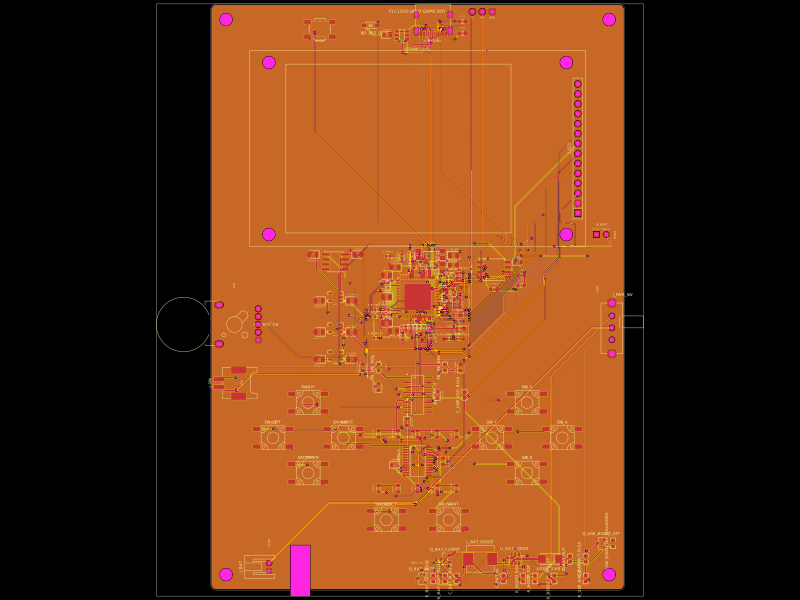 Discover something newShiboSoftwareDev/f1c100s-linux-gameboyRestores PCB assembly metadata by assigning part numbers, managing 3D CAD models and orientations, removing test-point bodies, and validating top-side SMT solder-paste features.