abse/gameboy-advance
A tscircuit package created by abse.
- Version
- 0.0.45
- License
- unset
- Stars
- 0
mechanical/fit-print/r43/README.md
# R43 matched assembly and print files

Use the [interactive assembly viewer](https://tscircuitboy-assembly.absesoftwaredev.chatgpt.site/) for current part downloads, hide/isolate and real sliced support previews. Right-click printable parts for their matched 3MF.

- Front shell includes integral shoulder buttons with two leaf flexures per button. Do not install old separate shoulder caps/pads/keepers. Keep support material and removal tools away from active leaves. Test coupon before full shell; physical fatigue is unverified.
- X cap has a full round flange identical to A/B/Y. Print the matching updated front shell; its underside pocket is expanded while preserving the LCD seat. CAD motion/clearance checked; confirm real fit before tightening.
- Rear keeps the approved outer hand shape. Print OPEN RIM DOWN with the optimized normal/snug PLA profile, 0.16mm layers, P2S 0.4mm nozzle. About 8.97g support, versus previous tree profile 24.56g. Physical print trial required. New 3.4mm USB LED aperture is near the USB port.
- Generic geometry 3MF files in this folder have no printer settings. Use the native project links below for protected supports and orientation.
- M3/M2 hardware only. Four M3x16 DIN965 PH1 case screws; four M3x6 PCB screws with insulating washers. LCD and speaker use M2x4; holder retainers use M2x5. See screw-specifications.json and insert-mounts.json for all eight M3 and eight M2 inserts and positions. Never force closure with screws.
- Optional D-pad pivot omitted for requested pivot-free test. Battery holder fastens to rear shell, never PCB. No display foam or touch glass. Retain nominal 2.3mm display mount per user instruction; verify actual 2.5mm panel seating before fastening.

## Native Bambu projects

- [front-shell / P2S 0.4 PLA](https://tscircuitboy-assembly.absesoftwaredev.chatgpt.site/assets/downloads/R42-front-P2S-PLA-protected.3mf)
- [rear-shell / P2S 0.4 PLA](https://tscircuitboy-assembly.absesoftwaredev.chatgpt.site/assets/downloads/Rear-shell-OPTIMIZED-USB-LED-R43-P2S-PLA.3mf)
- [integral-shoulder-fit-coupon / P2S 0.4 PLA](https://tscircuitboy-assembly.absesoftwaredev.chatgpt.site/assets/downloads/R40-coupon-P2S-PLA-protected.3mf)

## Assembly sequence

1. Disconnect USB and remove cells. Deburr moving guides; test all cap travel.
2. Heat-set the listed M3/M2 inserts in bare shells, cool fully, and keep plastic out of guides.
3. Secure PCB to rear shell with washers and four M3x6 screws. Mount battery holder using its rear-shell clips and M2 screws. Verify polarity and route wires away from screws/buttons.
4. Fit LCD far-side rail in the front shell. Support the two halves while connecting the FPC; slide bare display into fixed rail then fasten the two connector-side locks using four M2x4 screws total. Verify flex slack/bend and cable clearance.
5. Fit speaker/retainer and leads. Rear-load six caps and D-pad into separate face-down front shell. Integral shoulder buttons remain attached to top shell; no loose shoulder assembly.
6. Lower rear/PCB onto front squarely so each switch stem enters its cup. Test return and LCD seating before closing. Stop if any resistance; do not pull into alignment with screws.
7. Fit four M3x16 case screws evenly/lightly, test all inputs again, then insert cells and verify USB-only power LED and battery-only behavior.
Related Packages
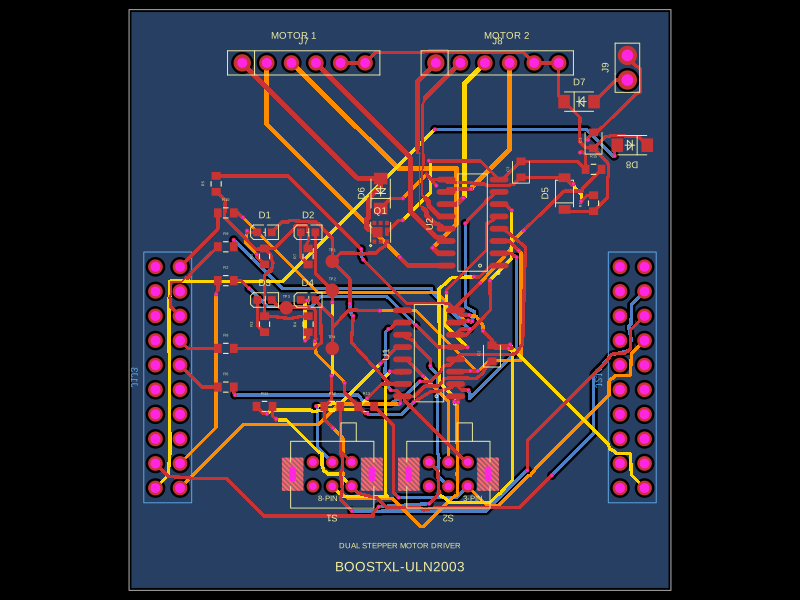 More from this authorabse/boostxl-uln2003This code defines a React component that models a through-hole or surface-mount LED with specified pin labels, footprint, silkscreen, and 3D CAD model for PCB layout.
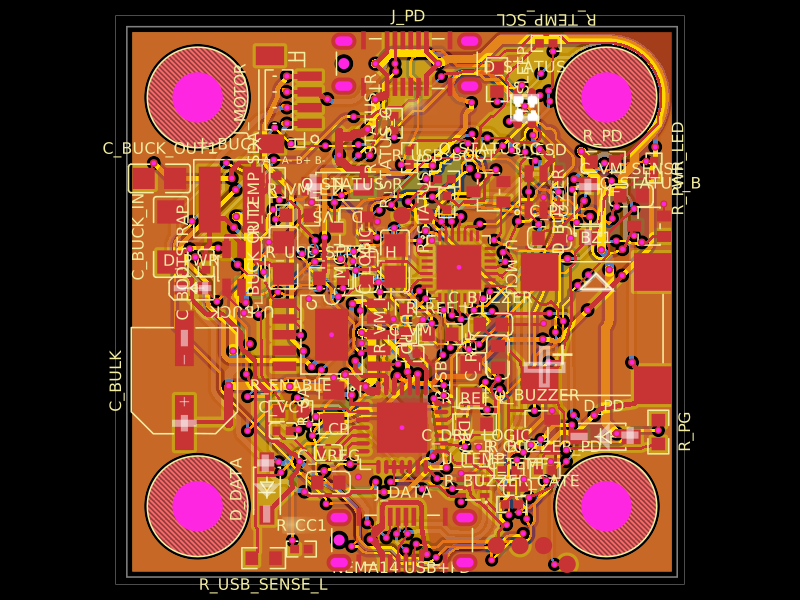 Discover something newAnasSarkiz/NEMA14_CH32X035G8U6A NEMA stepper motor is shown with proposed M3 screws/spacers, four wired motor leads and splices, and a JST SHR-04V-S connector.